10 Tips for Off Camera Flash for Beginners
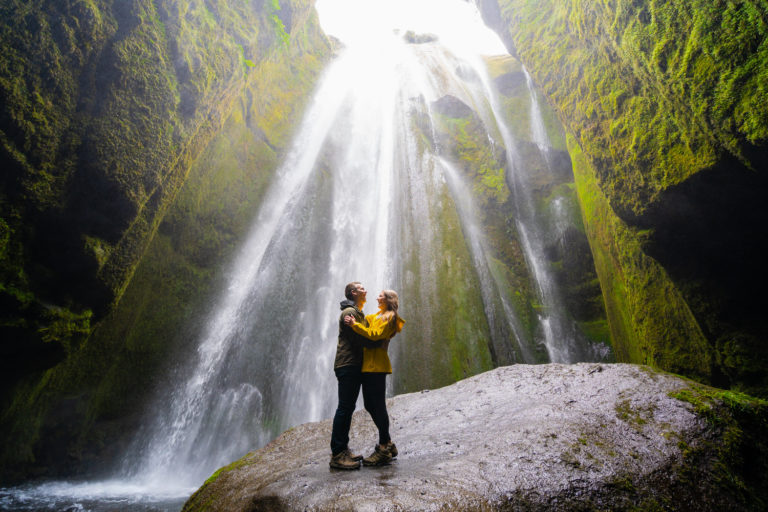
Off camera flash can be a daunting concept for beginners in photography, but it doesn’t have to be. If you’re new to using off camera flash, the first thing that you should know is that it’s not as hard or complicated as it may seem. There are many ways to use off camera flash and there are a number of benefits that come with the practice.
Why even consider off camera flash? It’s because, in a nutshell, off camera lighting provides greater control over the direction and quality of the light in the photos we take. This blog post will cover 10 off camera flash tips for beginners who want to use flash without any trouble.
1. Prepare the Essential Gear
The most essential gear to have, aside from your camera, is the off camera flash. There are plenty of available options that can help you achieve studio lighting and creative lighting angles to add drama to your portraits.
Another advantage of using an off camera flash is that you get consistent lighting without constantly adjusting the position around the scenes even when you change your camera lens and step farther from your subject.
For beginners, speedlights are a good option for flash since they can be mounted on camera or off camera for a more versatile use, whereas mounting flash on a light stand is ideal for photographing portraits with a longer focal length. In addition, when lights are mounted on light stands, you are able to use attachments to diffuse the light (more of this later) without worrying about the light going off balance.
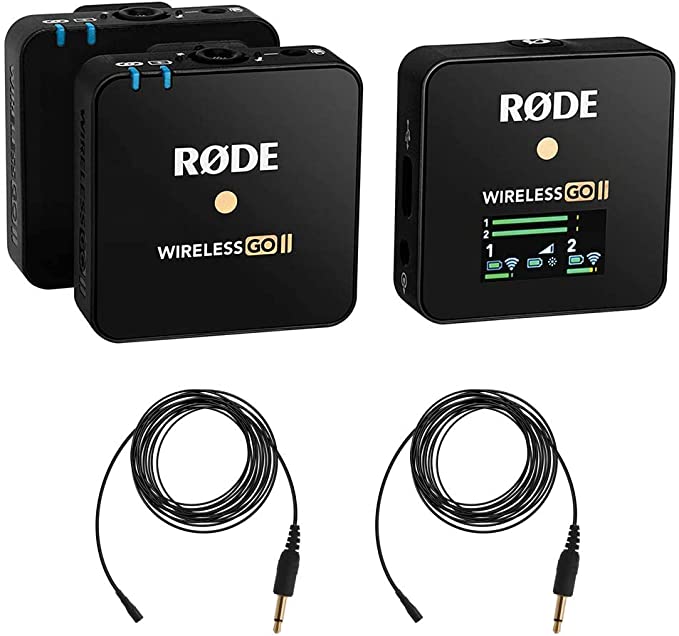
With off camera flash, you also need some sort of radio transmitter/trigger so your camera and flash can communicate wirelessly and achieve your desired lighting techniques
Here are my favorite flashes and triggers for my Sony camera! Here are links for my full gear kit!


2. Get a good subject to practice on
Honestly, a bowl of fruit is my go-to.
Human subjects would be more realistic, but let’s face it, they get tired too. Having inanimate objects to practice on to your heart’s content when practicing how to use off camera flash is a good decision to make.
A hairdresser mannequin might be a good option to help you master off camera flash for portraits. It allows you to build confidence and test lighting setups without worrying about taking up someone’s time.

3. Learn with Your Flash on Manual Mode
Because you will be shooting with your camera in manual mode, and to help with consistency, you need to also learn to use flash in manual mode. You would need a good awareness of how to adjust the aperture, shutter speed and ISO so that it is easier to understand how everything works with your flash and camera settings.
Learning off camera flash photography in manual mode also means you are in total control of how your photos turn out.
4. Know the Technical Aspects of Your Camera and Flash
There are some technical things that we really need to be acquainted with to be able to really comprehend flash photography. This is the most daunting part because there’s just no shortcut to this. You really have to know how to manipulate your camera settings and flash settings. If you have no clue how your camera’s shutter works, or how the focal plane shutter affects the flash exposure, then you’ll just forever be playing a guessing game.
There are five important variables when working with flash off camera:
Shutter Speed
The first one is shutter speed which gives you the option to lighten or darken the ambient light without altering other variables and also the background and other light sources. There will be a more in-depth explanation on this when we talk about the background (See Tip #6!).
Aperture
The second variable is the aperture, which controls the flash exposure, or basically how much light enters your camera. Since flash power is too quick to be altered by shutter speed, aperture is what you manipulate. If the image you get is overexposed, you need to close down the aperture, and if it’s too dark, you need to open it up.
Flash Power
The third one is flash power, or simply how much power the flash can put out. In order to have consistency, the key is to master the flash since it varies depending on what gear you have. You can start with full power or 1/1 which is the largest light output your flash can produce. Decreasing fractions from ½ to 1/64 reduces the amount of light.
Each fraction or setting equates to one full stop of light the flash produces. The stops would also refer to your aperture. Such that 1/64 of flash power is to f/2 of aperture, 1/32 of flash power to f/2.8 of aperture, and so on.
ISO
ISO is the fourth variable. It is the sensitivity of the camera’s sensor and helps to control exposure along with aperture and shutter speed. By manipulating this variable, you can reduce the flash power, but still get the lighting you wanted. When you double your ISO, you allow one more stop of light into the camera. This is done so you can operate at a lower flash power for longer periods of time to avoid overheating your off camera flash. You just basically have to juggle the ISO and flash power.
Flash-to-subject Ratio
The fifth variable, flash-to-subject ratio comes into play when you are positioning your off camera flash (See Tip #7!). The amount of light is reduced, the farther it is from the subject. This is useful when you need more space to work with especially when doing group shots, or adding new elements to the scene.
5. Set your ambient light first, then off camera flash second
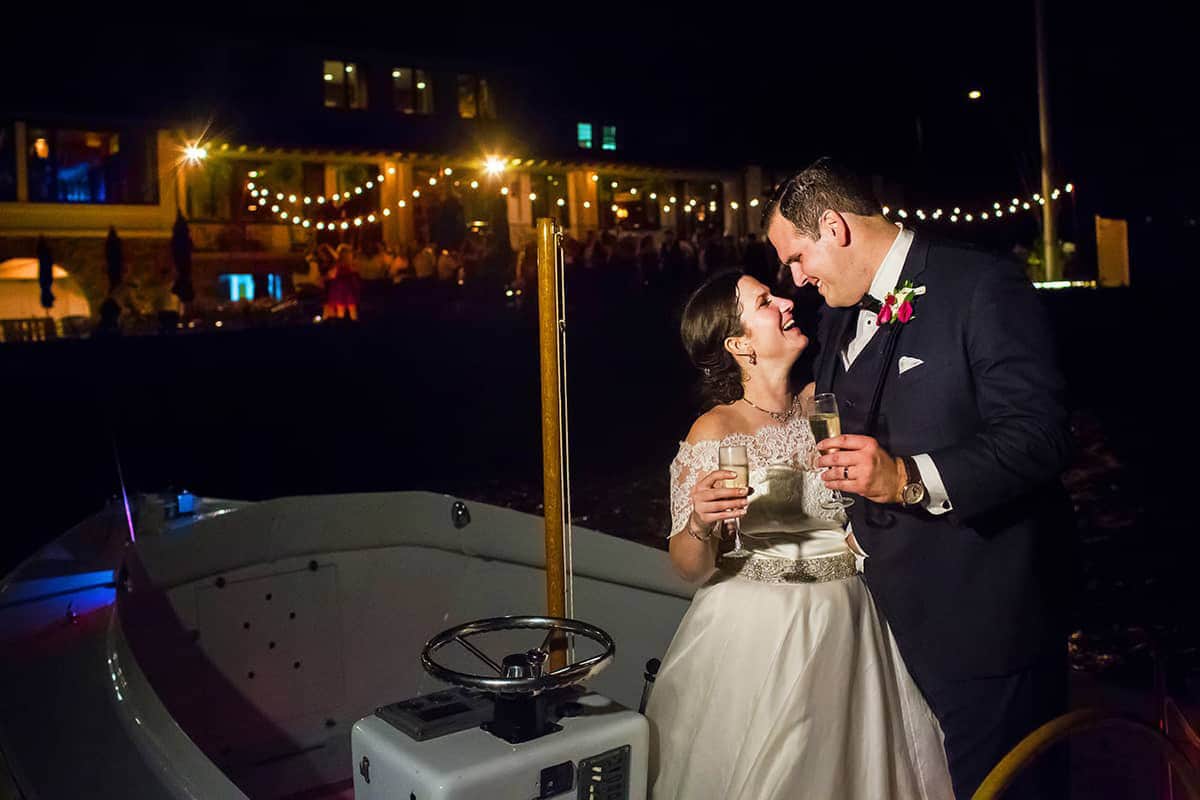
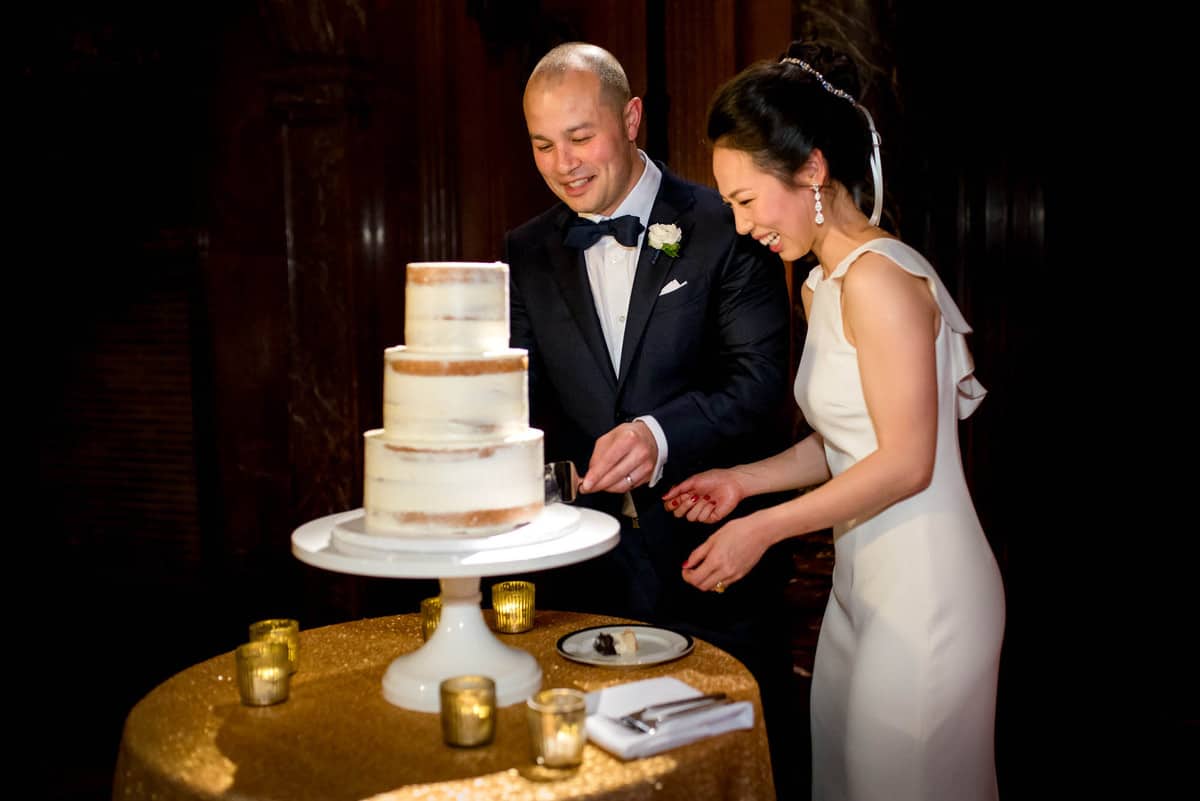
Before even adding any kind of flash, it is important to take one photograph with only the natural light in the scene. The natural light or ambient light could be from, window-light, from electricity-powered lights, or light coming from the sun. This is basically the light already present in the scene, of which you have no control over. It is usually the most beautiful and flattering light for portraits, however it cannot be at your beck and call.
Upon reviewing the image taken with only ambient lighting, decide if adding flash will indeed improve the shot. If you think the outcome is too flat with only natural light, then that’s when you decide to use off camera flash to add dimension and texture.
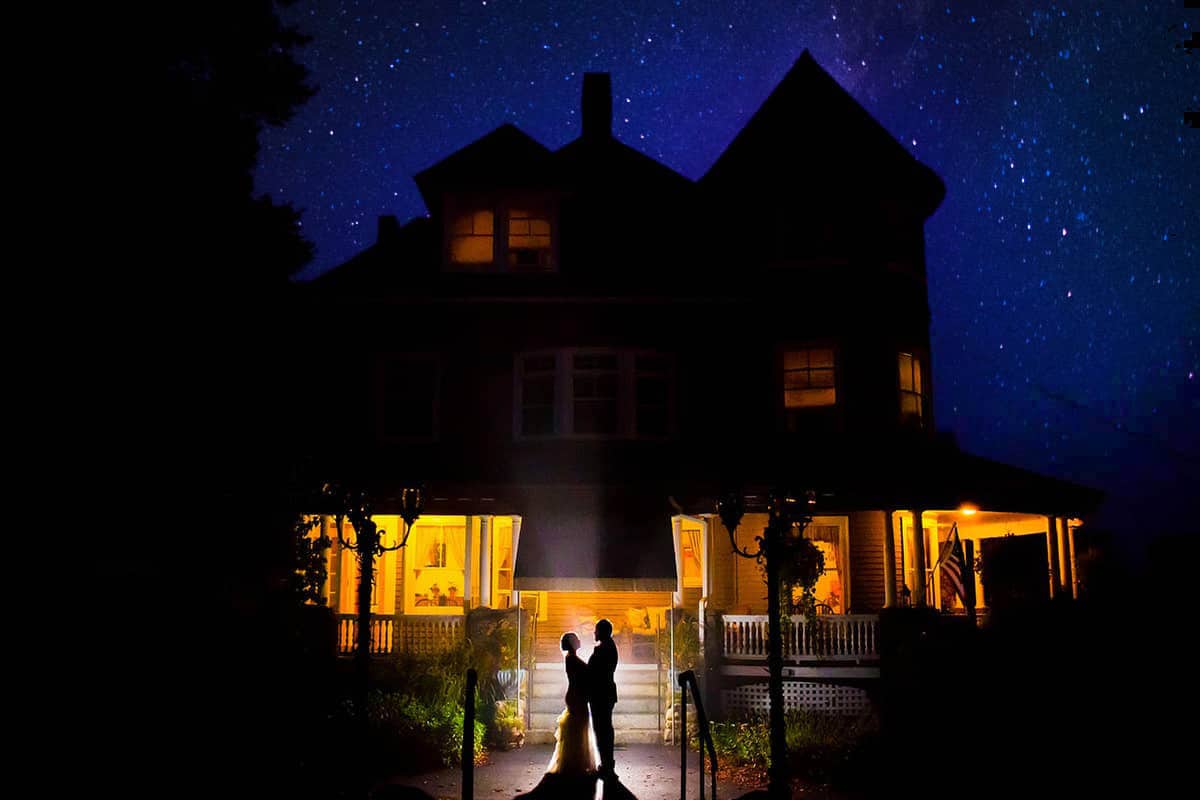
6. Think about your background and shutter speed
Is your background plain or colorful? Or is it full of interesting things you want to include to bring life to the portrait? You have to consider how much of the surroundings you want to include so you can tweak your shutter when you use off camera flash photography.
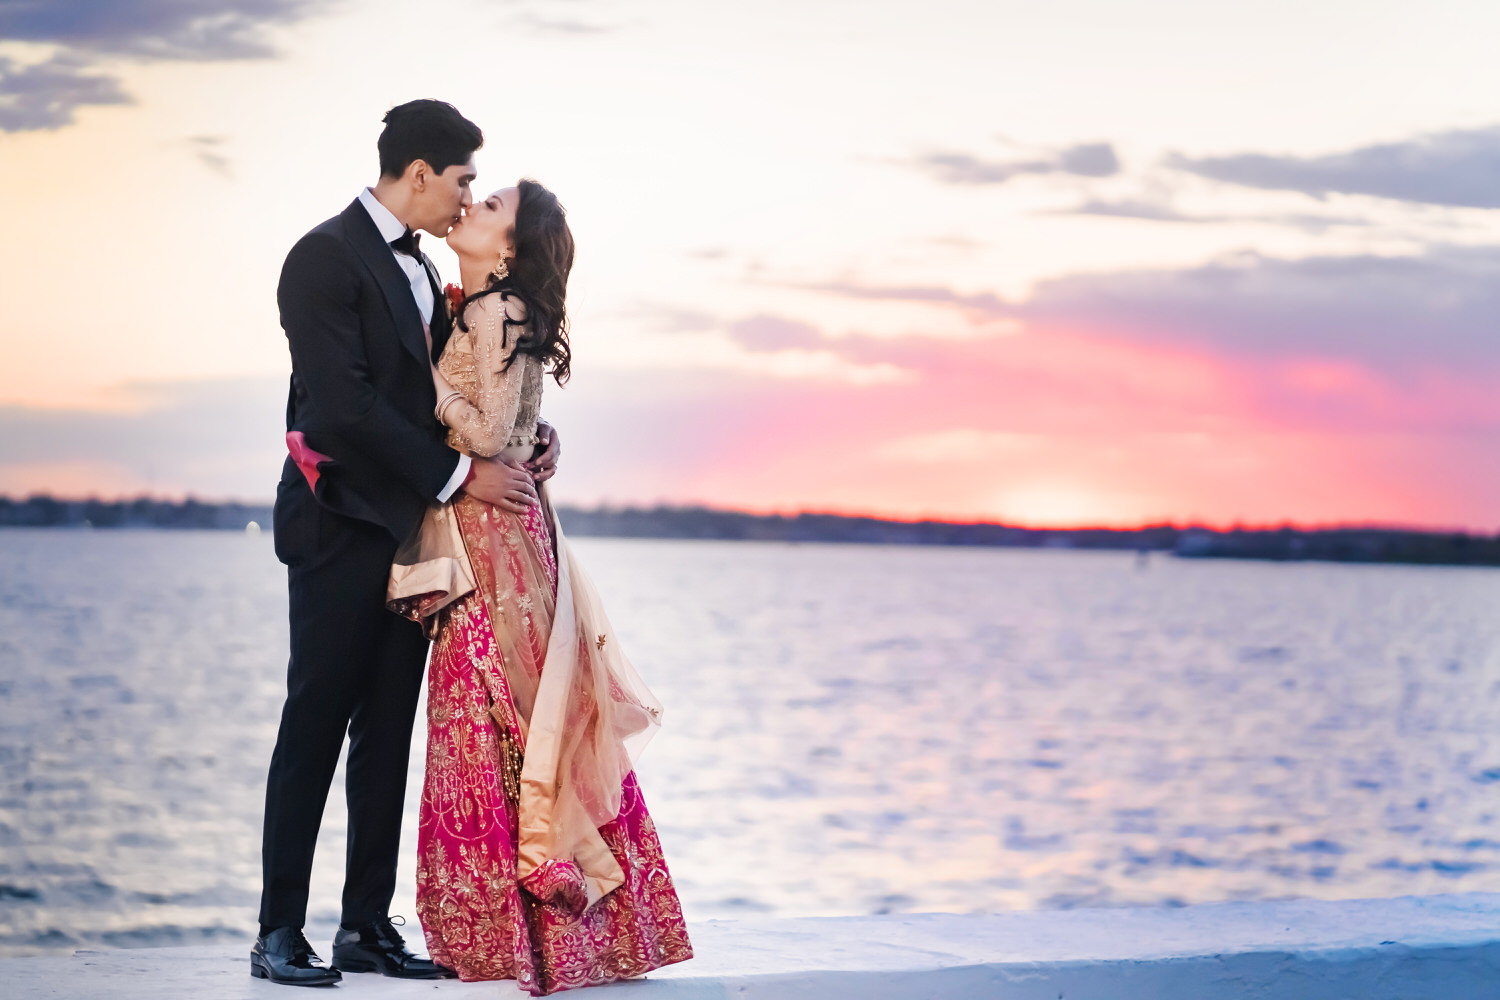
When you are shooting outdoors, with a gorgeous sky or backdrop, you have to balance the exposure with the flash to make the most out of the location. However, if you are shooting indoors with problematic lighting, you can just decide to remove all the ambient light. This is where the shutter speed comes into play.
As said earlier, shutter speed gives you the option to lighten or darken the ambient light. This is because a flash will put out all its power in the smallest fraction of a second. Shutter speed will be less than this, so it will not affect the power of the flash itself.
The flash sync also affects the use of shutter speed. It is the maximum speed that you can shoot the flash at. Flash sync usually at around 1/200th of a second. The main thing to remember is that you cannot put the settings for your shutter speed faster than your flash sync.
You can start by taking a shot with the maximum shutter speed sync (1/200) and slowly decrease this to your desired exposure for the background and using the flash to fill in any shadows on your subject.
Aperture and ISO can also be manipulated to increase or decrease natural light, but you also have to consider the flash power when altering these variables.
7. Control the direction and amount of off camera flash
Experiment with how you want the light to hit your subject. This entails proper positioning of the off camera flash, including the direction, distance and the amount of light you use, and how it will add to the already present natural light.
You need to remember that the farther the subject is from the flash, the lesser the amount of light reaches them.
Consider how much distance you will put between the subject and the flash. This distance will also help if you need a lot of space to work with.
Another question to ask is where do you want your light to come from to create that dramatic lighting you are aiming for? As you practice shooting portraits, constantly adjust the angle of the light source to know which directions flatter the subject best.
8. Soften the Harsh Light When Necessary
Small light sources like a flash produce harsh light. It is a good idea to change the quality of light from a bare off camera flash to one that is much softer and more flattering for the subject. This is done with some kind of flash diffusion.
Some basic options for this are simply using an umbrella or getting a softbox.
Play around with whatever you have available, and slowly expand your options by experimenting with other light sources. An important rule of thumb for this is remembering that the bigger the light source, the softer the light.
9. Practice Makes Perfect for off camera flash
As with all learned skills, practice, practice, practice! It’s okay not to get everything down to a tee in the first session. It is important in order to build confidence and really get to know the equipment you are using. This is also where it gets handy to have an inanimate subject so you can constantly use flash minus worry about annoying anyone.
There’s a lot to learn when it comes to off camera flash, so experience is valuable in order to master this aspect of shooting portrait photography. Don’t be afraid to always try and make a number of mistakes, because this will be your greatest teacher.
10. Don’t Forget to Take Care of Your Eyes!
Ultimately on and off camera flashes are safe for the eyes, since our exposure to those light sources are very small. On the other hand, some types of lighting which release powerful light, especially when you stand close to them, or look directly at them can contribute to damage in our retinas. With proper positioning of the off camera flash, this won’t be a problem, however we have to exercise caution about reflective surfaces, as the light might strain our eyes.
Practice may be essential, but know your body enough when to take a break or two!
If you’re new to off camera flash photography, it can be hard to know where to start. The good news is that there are many resources available for beginners and experts alike who want to learn about the technical aspects of their camera and flash or improve their technique. One such resource is our blog post where I hope you learned a thing or two today about what it takes to take great photos using off camera flash and how to get started.
Keep practicing with your camera what we discussed in this blog post and soon enough you’ll have some amazing shots that will make people smile.
Full transparency
Some of these links. are affiliate links, which means that if you click on it and buy something, I get a small kickback! This money goes directly into my chocolates and mango snack fund for wedding days!
I write blogs to help my clients understand that I’m a nerd. I research and test my wedding photography equipment to extreme measures because I love what I do and I take my job super seriously.
